How To Use Mockup A Step-by-Step Easy Guide

Use the power of product mockups in Photoshop to effortlessly transform your ideas into stunning visuals. Whether you've designed a mockup or snagged one from online sources like Creative Market or Envato Elements, this tutorial will guide you through the process of harnessing the full potential of mockup templates.
Step 1: Finding Your Mockup Folder
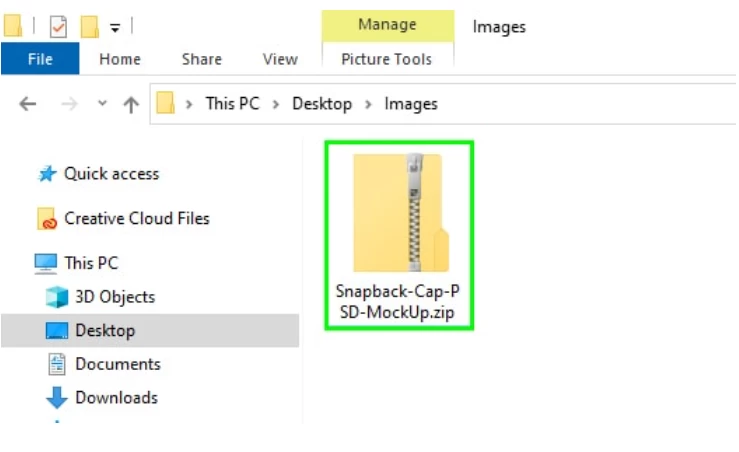
Upon downloading your mockup, locate the zip folder on your computer. In this example, we're using a hat mockup.

Step 2: Extract the PSD File
Open the zip folder and extract the PSD file. On Windows, right-click and select "Extract All," while on Mac, simply double-click the folder.

Step 3: Open the PSD File in Photoshop
Double-click the PSD file to open it in Photoshop. Explore the Layers panel to see how the creator structured the mockup. Click on group icons to reveal their contents.


Step 4: Insert Your Design
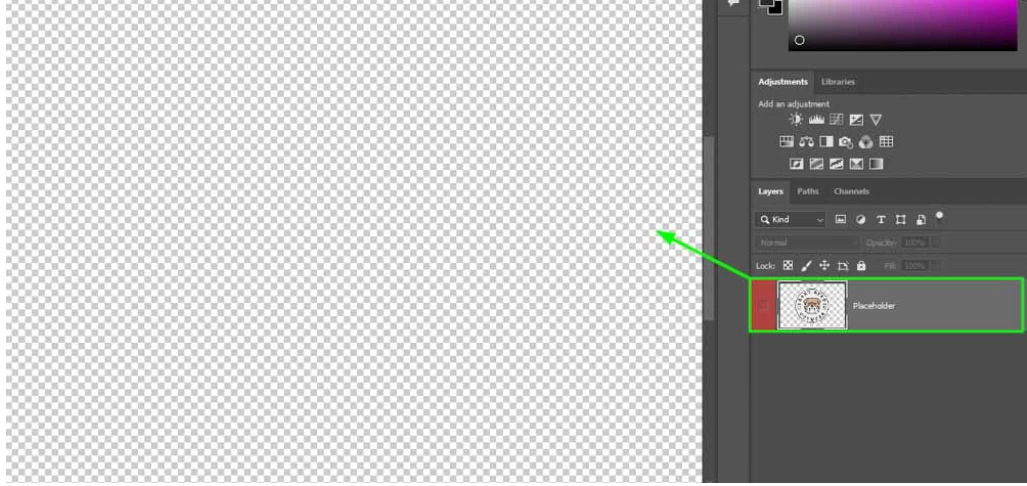
Locate the Smart Object Layer, typically named 'Insert Your Design Here.' Double-click it to open in a new tab.


Replace the example design by Select it and than

Going to File > Place Embedded

and choosing your design file (preferably in high-resolution PNG format).

Step 5: Resize Your Design
Rescale your design proportionally using handles around the object. Hold Shift + Alt (Win) or Shift + Option (Mac) while dragging to maintain proportions. Press Enter to confirm changes.

Step 6: Save Your Changes
Press Ctrl + S (Win) or Command + S (Mac) to save. Your design is now integrated into the mockup.

Download How To Use Mockup A Step-by-Step Easy Guide Links:
Users of Guests are not allowed to comment this publication.
